7.2 KiB
Tutorial 3a - multi-layer keyboard
When you finish this tutorial you will be able to be able to modify a multi-layer keybrd sketch to write your very own multi-layer keyboard firmware.
Multi-layer nomenclature
layers - are key bindings provided by the keyboard firmware. For example,
- The classic IBM Model M keyboard has one layer.
- Many compact keyboards have an additional Fn layer.
- The Neo layout has 6 layers.
layer id - is an integer used to identify a layer.
active layer - is the layer currently used by the keyboard.
default layer - is the active layer when the keyboard starts up.
layer scheme - is a system for changing the active layer while typing (a single-layer scheme does not change layers).
Code classes
Code objects only have one scancode or one layer code. Example Code classes include:
- Code_Sc
- Code_ScS
- Code_ScNS
- Code_Shift
- Code_LayerHold
- Code_LayerLock
Single-layer keys contain one Code object. Multi-layer keys contain multiple Code objects, one code for each layer.
A simple multi-layer keybrd sketch
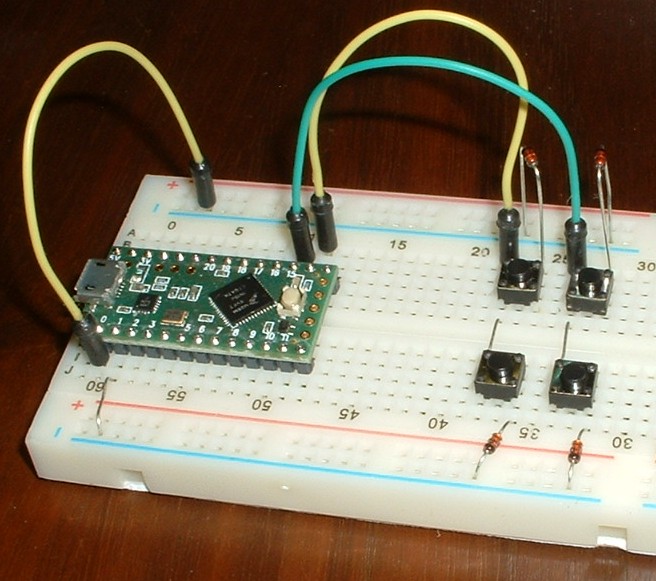
The keybrd_3a_multi-layerHold.ino sketch is for a simple two-layer keyboard. It will run on the basic breadboard keyboard described in tutorial_1_breadboard_keyboard.md.
The sketch annotations explain how multi-layer keyboards work. The sketch uses three layer-scheme classes:
- LayerState
- Code_LayerHold
- Key_LayeredKeys
The internal workings of these three classes are revealed in the next section.
Pseudo code for simple layer scheme
The following pseudo code is of three keybrd library classes. It has just enough detail to show the internal workings of layer schemes.
Code_Layer objects change the active layer. When a Code_Layer object is pressed, it tells LayerState to update the active layer.
class Code_Layer
{
    const int layerId;
    LayerState& refLayerState;
    press() { refLayerState.setActiveLayer(layerId); }
};
LayerState objects keep track of the activeLayer. A LayerState's activeLayer is always up to date.
class LayerState
{
    int activeLayer;
    setActiveLayer(int layerId) { activeLayer = layerId; }
    getActiveLayer() { return activeLayer; }
};
Key_LayeredKeys objects contain arrays of keys, one key for each layer. Key_LayeredKeys objects use layerIds as array indexes. When a Key_LayeredKeys object is pressed, it gets the active layerId from LayerState, and sends the corresponding key.
class Key_LayeredKeys
{
    Key** ptrsKeys;         //array of Key pointers, one Key pointer per layer
    LayerState& refLayerState;
    press() { layerId = refLayerState.getActiveLayer();
              ptrsKeys[layerId]->press(); }
};
Dependency diagram
       +------------+
       | Code_Layer |
       +------------+
             |
             |setActiveLayer()
             |
             v
       +------------+
       | LayerState |
       +------------+
             ^
             |
             |getActiveLayer()
             |
     +-----------------+
     | Key_LayeredKeys |
     +-----------------+
Layer-scheme classes
There are several layer scheme-classes to choose from. You can view all the class definitions in the keybrd library.
Code_Layer classes include:
- Code_LayerHold
- Code_LayerLock
A basic LayerState class is:
- LayerState
Key_Layered classes include:
- Key_LayeredKeys
- Key_LayeredScSc (covered in next tutorial)
- Key_LayeredCodeSc
The association between Codes, Keys, and Rows
Codes, Keys, and Rows are associated by class compositions:
Each Code object contains one scancode or one layercode.

Each Key contains either
* one Code object (single-layer)
* multiple Code objects (multi-layer)
* Key object (key nested in key)

Each Row contains Key objects.
You may have been wondering why Code pointers are in Key pointers arrays. You don't need to know the reasons to write a sketch. For the curious, two reasons are explained below.
- Single-layer keys is the first reason you see Code pointers in a Key pointers array. Rows contain keys. The keys can be Single-layer or Multi-layer. Wrapping a code in a single-layer key before placing it a row is tedious. It is more convenient to place a code directly in a row. Codes are a kind of Key (polymorphism), so that rows can contain codes and keys.
From keybrd_3a_multi-layerHold.ino:
Key* const ptrsKeys_0[] = { &k_00, &k_01 };
Row row_0(scanner, 0, ptrsKeys_0, keyCount_0);

Key* const ptrsKeys_1[] = { &l_fn, &s_shift };
Row row_1(scanner, 1, ptrsKeys_1, keyCount_1);
row0's ptrsKeys_0[] array contains pointers to Keys. row1's ptrsKeys_1[] array contains pointers to Codes.
- Sublayers (nested keys) is the second reason you see Code pointers in a Key pointers array. Layered keys usually contain just codes. When nesting keys, layered keys contain keys. Codes are a kind of Key (polymorphism), so that layered keys can contain both codes and keys.
From keybrd_3d_sublayerNested.ino:
Key* const ptrsKeys_sub00[] = { &s_minus, &s_1 };
Key_LayeredKeys1 k_sub00(ptrsKeys_sub00);

Key* const ptrsKeys_00[] = { &s_a, &k_sub00 };
Key_LayeredKeys k_00(ptrsKeys_00);
k_00's ptrsKeys_00[] array contains pointers to code s_a and key k_sub00.
Exercises
-
Compile and run keybrd_3a_multi-layerHold.ino and keybrd_3b_multi-layerLock.ino. Notice how Code_LayerHold and Code_LayerLock objects behave.
-
Modify the keybrd_3a_multi-layerHold.ino sketch to make a 3-layer keyboard with two Code_LayerHold keys.
| Layout | 0 | 1 |
|---|---|---|
| 0 | a - 1 | b = 2 |
| 1 | sym | num |

keybrd tutorial by Wolfram Volpi is licensed under a Creative Commons Attribution 4.0 International License.
Permissions beyond the scope of this license may be available at https://github.com/wolfv6/keybrd/issues/new.
