5.4 KiB
Tutorial 3a - multi-layer keyboard
When you finish this tutorial you will be able to be able to modify a multi-layer keybrd sketch to write your very own multi-layer keyboard firmware.
Multi-layer nomenclature
layers - are key bindings provided by the keyboard firmware. For example,
- The classic IBM PC keyboard has one layer.
- Many compact keyboards have an additional Fn layer.
- The Neo layout has 6 layers.
layer id - is an integer used to identify a layer.
active layer - is the layer currently used by the keyboard.
default layer - is the active layer when the keyboard starts up (in class LayerState, default layerId=0).
layer scheme - is a system for changing the active layer while typing (a single-layer scheme does not change layers).
Code classes
Code objects only have one scancode or code. Example single-layer Code classes include:
- Code_Sc (used in keybrd_2_single-layer.ino)
- Code_ScS
- Code_ScNS
- Code_Shift
- Code_LayerHold
- Code_LayerLock
Single-layer keybrd sketches have one Code object per key. Multi-layer keybrd sketches have multiple Code objects per key, one code for each layer.
A simple multi-layer keybrd sketch
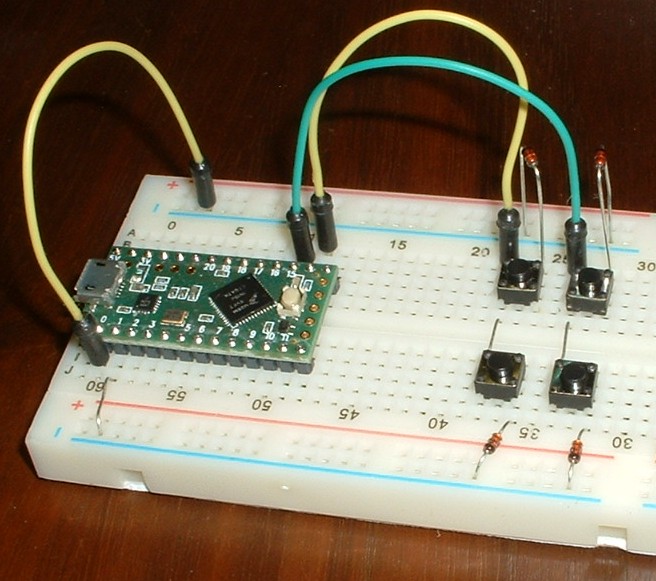
The keybrd_3a_multi-layerHold.ino sketch is for a simple two-layer keyboard. It will run on the basic breadboard keyboard described in tutorial_1_breadboard_keyboard.md.
The sketch annotations explain how multi-layer keyboards work. The sketch uses three layer-scheme classes:
- LayerState
- Code_LayerHold
- Key_LayeredKeys
The internal workings of these three classes are revealed in the next section.
Pseudo code for simple layer scheme
The following pseudo code is of three keybrd library classes. It has just enough detail to show the internal workings of layer schemes.
Code_Layer objects change the active layer. When a Code_Layer object is pressed, it tells LayerState to update the active layer.
class Code_Layer
{
    int layerId;
    LayerState& refLayerState;
    press() { refLayerState.setActiveLayer(layerId); }
};
LayerState objects keep track of the activeLayer. A LayerState's activeLayer is always up to date.
class LayerState
{
    int activeLayer;
    setActiveLayer(int layerId) { activeLayer = layerId; }
    getActiveLayer() { return activeLayer; }
};
Key_LayeredKeys objects contain an array of keys, one key for each layer. Key_LayeredKeys objects use layerIds as Key_LayeredKeys indexes. When a Key_LayeredKeys object is pressed, it gets the active layerId from LayerState, and sends the corresponding key.
class Key_LayeredKeys
{
    Key** ptrsKeys;         //array of Key pointers, one Key pointer per layer
    LayerState& refLayerState;
    press() { layerId = refLayerState.getActiveLayer();
              ptrsKeys[layerId]->press(); }
};
Dependency diagram
       +------------+
       | Code_Layer |
       +------------+
             |
             |setActiveLayer()
             |
             v
       +------------+
       | LayerState |
       +------------+
             ^
             |
             |getActiveLayer()
             |
     +-----------------+
     | Key_LayeredKeys |
     +-----------------+
Layer-scheme classes
There are several layer scheme-classes to choose from. You can view all the class definitions in the keybrd library.
Code_Layer classes include:
- Code_LayerHold
- Code_LayerLock
A basic LayerState class is:
- LayerState
Key_Layered classes include:
- Key_LayeredKeys
- Key_LayeredScSc (covered in next tutorial)
- Key_LayeredCodeSc
Exercises
-
Compile and run keybrd_3a_multi-layerHold.ino and keybrd_3b_multi-layerLock.ino. Notice how Code_LayerHold and Code_LayerLock objects behave.
-
Modify the keybrd_3a_multi-layerHold.ino sketch to make a 3-layer keyboard with two Code_LayerHold keys.
| Layout | 0 | 1 |
|---|---|---|
| 0 | a - 1 | b = 2 |
| 1 | sym | num |

keybrd tutorial by Wolfram Volpi is licensed under a Creative Commons Attribution 4.0 International License.
Permissions beyond the scope of this license may be available at https://github.com/wolfv6/keybrd/issues/new.
